How to Deactivate a Facebook Page: A Comprehensive Guide to Pausing or Removing Your Presence
Managing a Facebook Page can be a significant undertaking, whether it’s for a business, a community, or a personal brand. However, there come times when you might need to temporarily pause or permanently remove your page. Knowing how to deactivate a Facebook page is crucial for controlling your online presence and stepping back gracefully.
This in-depth guide will walk you through the precise steps to deactivate your Facebook Page, distinguish this action from permanently deleting it, explain the implications of each choice, and offer valuable insights and considerations to help you make the best decision for your page’s future.
Deactivating vs. Deleting a Facebook Page: Understanding the Crucial Differences
Before you learn how to deactivate a Facebook page, it’s essential to grasp the fundamental distinction between deactivation (also known as unpublishing) and permanent deletion. These two options have vastly different outcomes for your page’s visibility, data, and potential for recovery.
Deactivating (Unpublishing) Your Facebook Page: The Temporary Pause
When you deactivate or unpublish your Facebook Page, you are essentially making it invisible to the public. Think of it as putting your page into a “draft” mode or taking it offline temporarily.
- Page disappears from public view: Your Facebook Page, including all its content (posts, photos, videos, events), likes, followers, and reviews, becomes invisible to everyone except the page admins and editors.
- Search results: The page will not appear in Facebook search results for non-admins. External search engines (like Google) may still have cached versions, but direct links to the page on Facebook will lead to an error for the public.
- Admins retain access: Page admins and other authorized roles can still access the page, view its content, make edits, and even publish new posts. This allows you to work on the page behind the scenes without public exposure.
- Data is retained: All your page’s data – posts, photos, videos, insights, messages, and followers – remains intact on Facebook’s servers. Nothing is lost.
- Reactivation is easy: You can reactivate (republish) your Facebook Page at any time with a simple click. All your content, likes, and followers will be restored as they were before unpublishing.
- Impact on linked accounts/apps: If your page is linked to an Instagram profile, a WhatsApp Business account, or third-party apps, unpublishing the Facebook page might affect these connections, though typically they remain linked but inactive for public interaction.
Deactivating a Facebook page is ideal if you’re undergoing a rebrand, taking a break, performing maintenance, or facing a temporary closure of a business. It offers flexibility and the assurance that your digital footprint on Facebook can be easily restored without losing years of content or audience engagement.
Deleting Your Facebook Page: The Permanent Goodbye
Deleting your Facebook Page is an irreversible action that removes the page and all its associated data from Facebook permanently.
- Permanent removal: After a grace period (typically 30 days), your page, its content, followers, likes, messages, and insights are permanently deleted from Facebook’s servers.
- Irreversible: Once the grace period passes and the deletion process completes, the page and all its associated data cannot be recovered.
- No recovery: There is no way to reactivate a permanently deleted Facebook Page. If you wish to have a presence on Facebook again, you would need to create an entirely new page from scratch, losing all previous followers and content.
- Impact on linked assets: All connections to Instagram, WhatsApp Business, ads accounts, and any third-party apps linked to the page will be severed.
Deleting your Facebook page is the right choice if you are absolutely certain you want to sever all ties with the page and its content, and you have no intention of using it again.
This guide primarily focuses on how to deactivate a Facebook page, giving you the temporary flexibility to pause its public presence.
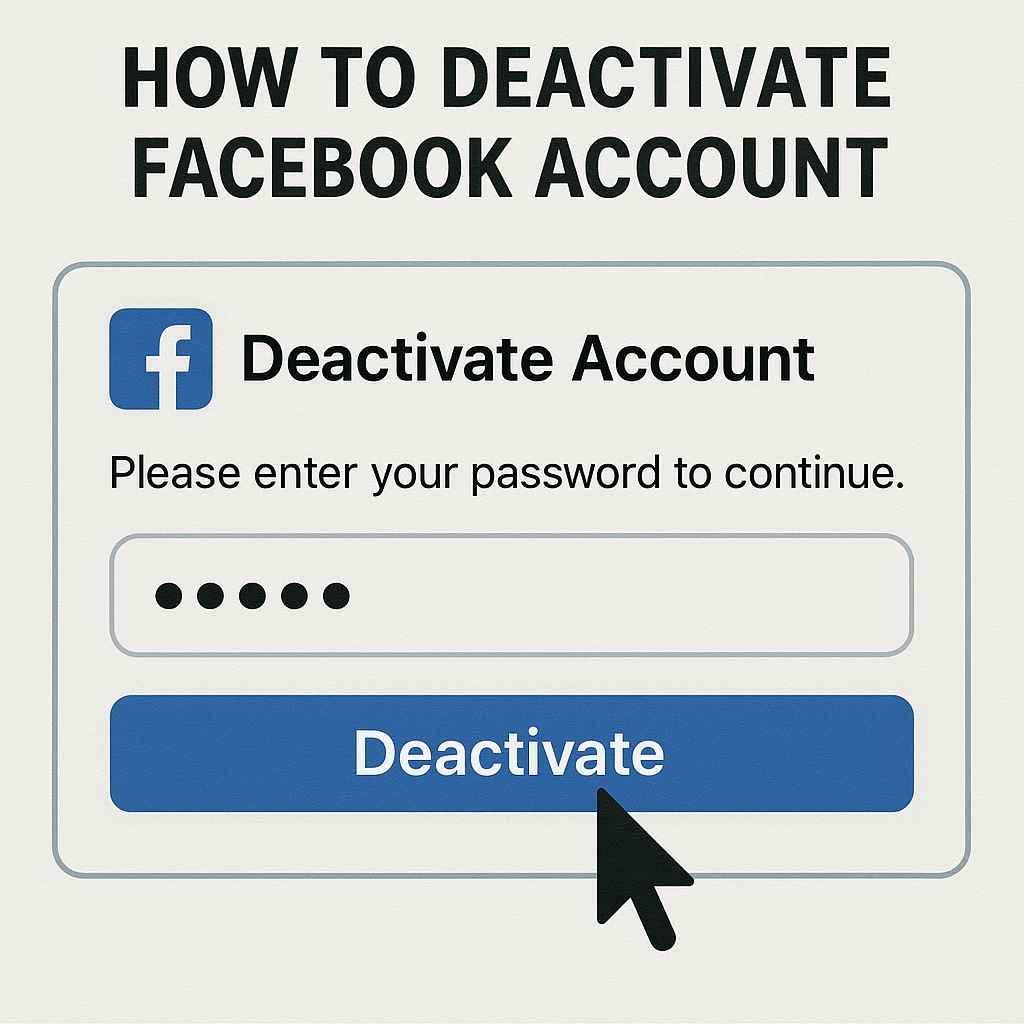
How to Deactivate a Facebook Page: Step-by-Step Instructions
The process of how to deactivate a Facebook page involves accessing the page’s settings. Please note that Facebook’s interface, especially concerning Pages, has evolved significantly, particularly with the introduction of the “New Pages Experience.” We will cover both common interfaces.
Important Pre-requisite: You must be a Page Admin to deactivate or delete a Facebook Page. If you are an Editor, Moderator, or other role, you will not have the necessary permissions.
Method 1: Deactivating a Facebook Page in the New Pages Experience (Most Common)
The “New Pages Experience” has rolled out to most pages. If your page looks more like a profile (you can switch between your personal profile and your page profile), you are likely on the New Pages Experience.
How to Deactivate a Facebook On a Desktop Browser:
- Switch to your Page: First, you need to switch from your personal Facebook profile to your Facebook Page profile.
- Click on your profile picture in the top-right corner of Facebook.
- Click “See all profiles” (or similar option if you have multiple pages).
- Select the Facebook Page you wish to deactivate. You will now be Browse Facebook as your Page.
- Access Page Settings: While viewing Facebook as your Page:
- Click on your Page’s profile picture in the top-right corner.
- From the dropdown menu, select “Settings & privacy.”
- Then, click “Settings.”
- Go to Page Access & Control: In the left-hand sidebar of the Page settings, you will see a list of options. Look for and click on “Page Access and Control” (sometimes just “Access and control”).
- Choose Deactivation or Deletion: Under “Page Access and Control,” you will see the option for “Deactivation and deletion.” Click on it.
- Select Deactivate Page: You will be presented with two choices: “Deactivate Page” and “Delete Page.” Make sure “Deactivate Page” is selected. Read the explanation provided to confirm you understand that this will unpublish your page temporarily.
- Continue to Page Deactivation: Click the “Continue” button.
- Provide a Reason (Optional): Facebook may ask you for a reason why you are deactivating your Facebook page. Select a reason from the list (e.g., “This is temporary,” “I created this Page by mistake”). This step is optional but helps Facebook understand user behavior.
- Confirm Deactivation: Click the final “Deactivate Page” button.
Your Facebook Page is now deactivated and will no longer be visible to the public. You will likely be switched back to your personal profile automatically.
How to Deactivate a Facebook Page On a Mobile Device (Facebook App – iOS/Android):
The steps to how to deactivate a Facebook page on the mobile app are very similar to the desktop version for the New Pages Experience.
- Open the Facebook App: Launch the Facebook app on your smartphone or tablet.
- Switch to your Page:
- Tap the Menu icon (three horizontal lines or your profile picture) in the bottom-right corner (iOS) or top-right corner (Android).
- Tap the down arrow next to your profile name (or “See all profiles”).
- Select the Facebook Page you want to deactivate. You will now be using the app as your Page.
- Access Page Settings: While viewing Facebook as your Page:
- Tap the Menu icon (three lines or your Page’s profile picture) again.
- Scroll down and tap on “Settings & privacy.”
- Then, tap “Settings.”
- Go to Page Access & Control: Under the “Page Settings” section, tap on “Page Access and Control.”
- Choose Deactivation or Deletion: Tap “Deactivation and deletion.”
- Select Deactivate Page: Ensure “Deactivate Page” is selected.
- Continue to Page Deactivation: Tap the “Continue” button.
- Provide a Reason (Optional): Select a reason for deactivating your Facebook page.
- Confirm Deactivation: Tap the final “Deactivate Page” button.
Your Facebook Page is now deactivated.
Method 2: Deactivating a Facebook Page in the Classic Pages Experience (Older Interface)
If your page still uses the “Classic Pages Experience” (where your personal profile and page profile are distinct, and you manage the page from your personal profile), the path to how to deactivate a Facebook page is slightly different.
On a Desktop Browser:
- Log in to Facebook: Log in with your personal profile that has admin access to the page.
- Navigate to Your Page: From your Facebook homepage, click “Pages” in the left-hand sidebar, and then select the specific Page you want to deactivate.
- Access Page Settings: On your Page, click “Settings” in the left-hand sidebar.
- Go to General Settings: The “General” tab should be selected by default. If not, click on “General.”
- Find Page Visibility: Scroll down until you find the “Page Visibility” section.
- Select Page Unpublished: Click “Edit” next to “Page Visibility.”
- Choose “Page unpublished”: Select the radio button for “Page unpublished.”
- Save Changes: Click “Save Changes.”
- Provide a Reason (Optional): Facebook might ask you for a reason. Select one and click “Next” or “Publish.”
Your Facebook Page is now unpublished/deactivated.
On a Mobile Device (Facebook App – Older Interface):
- Open the Facebook App.
- Tap the Menu icon.
- Tap “Pages” and then select the Page you want to deactivate.
- On your Page, tap the cogwheel icon (Settings) in the top right.
- Tap “General Settings.”
- Under “Page Visibility,” toggle off “Page published” or select “Unpublish Page.”
- Confirm your decision and provide a reason if prompted.
Your Facebook Page is now unpublished.
What Happens Immediately After You Deactivate (Unpublish) a Facebook Page?
Once you successfully deactivate (unpublish) your Facebook Page:
- Page vanishes from public sight: It will no longer appear in Facebook search results for non-admins, and direct links will lead to an error message for the public.
- Likes and followers are hidden: The public will not see your page’s likes or follower count. These are retained internally for your page’s return.
- Admins still see it: Page admins and others with administrative roles can still see the page and access its content and settings. You can continue to edit and manage it behind the scenes.
- Ads stop running: Any active ad campaigns linked to the page will likely be paused or stopped, as the page is no longer publicly visible.
- Analytics paused: No new insights data will be collected for your page’s public performance, as there is no public interaction.
- Linked Instagram/WhatsApp: While the Facebook Page is unpublished, its connection to linked Instagram profiles or WhatsApp Business accounts usually remains, but public interactions through those platforms won’t lead back to a visible Facebook Page.
How to Reactivate (Republish) Your Deactivated Facebook Page
The greatest advantage of knowing how to deactivate a Facebook page is the ability to bring it back online whenever you’re ready. The process is very simple:
For New Pages Experience:
- Switch to your Page Profile: Log in to Facebook, click your profile picture, then “See all profiles” and select your Page.
- Access Page Settings: Click your Page’s profile picture, then “Settings & privacy” > “Settings.”
- Go to Page Access & Control: Click “Page Access and Control.”
- Choose Deactivation or Deletion: Click “Deactivation and deletion.”
- Reactivate Page: You should see a message indicating your page is deactivated. Click “Reactivate Page” or “Reactivate” next to the option.
- Confirm: Confirm your decision.
For Classic Pages Experience:
- Log in to Facebook with your personal profile and navigate to your Page.
- Access Page Settings: Click “Settings” in the left-hand sidebar.
- Go to General Settings: Ensure the “General” tab is selected.
- Find Page Visibility: Scroll to “Page Visibility.”
- Select Page Published: Click “Edit” and then select the radio button for “Page published.”
- Save Changes: Click “Save Changes.”
Your Facebook Page will instantly become visible to the public again, with all its content, likes, and followers restored.
Reasons Why Businesses and Individuals Deactivate Facebook Pages
The decision to deactivate a Facebook page is often a strategic one, driven by various factors:
- Temporary Business Closure: A business might be temporarily closed for renovations, holidays, or a seasonal break, making it logical to unpublish the page.
- Undergoing Rebranding: During a rebrand, a page might be unpublished to prevent confusion while new branding, content, and messaging are prepared.
- Website Maintenance/Migration: If a business’s website is down for maintenance or undergoing a major migration, pausing the Facebook page can prevent users from visiting a broken link or outdated information.
- Strategic Pause: A marketing team might decide to take a strategic pause from Facebook for a short period to re-evaluate their content strategy, budget, or overall social media approach.
- Crisis Management: In the event of a public relations crisis, unpublishing a page can sometimes be a temporary measure to control the narrative and prevent further negative comments or interactions while a response is formulated.
- Staff Changes: If the page admin or social media manager leaves the organization and a replacement is not immediately available, deactivating the page can prevent unmonitored activity.
- Testing New Ideas: A page might be unpublished to test new content strategies or design elements in a private setting before going live to the general public.
- Seasonal Business: For businesses that operate only during specific seasons (e.g., Christmas tree farms, summer resorts), deactivating the page during the off-season is a common practice.
- Personal Break for Creator Pages: For individual content creators or public figures, deactivating their page might be part of a personal digital detox or a break from public engagement.
Understanding how to deactivate a Facebook page gives administrators the flexibility to manage these situations effectively.
Before You Deactivate a Facebook Page: Important Considerations
While knowing how to deactivate a Facebook page is relatively straightforward, it’s prudent to consider a few things before you proceed to ensure a smooth transition:
- Inform Your Audience (If Applicable): If your page has a significant following, consider making a final post informing your audience about the temporary deactivation and when they can expect you to return. Provide alternative contact methods if necessary.
- Download Page Data: While deactivation retains data, if there’s any chance you might permanently delete the page in the future, or if you simply want a comprehensive backup, download your page’s data. Go to
Page Settings>Page Access and Control>Download Page Information(for New Pages Experience) orSettings>General>Download Page(for Classic Pages). - Check Linked Accounts: Review any Instagram Business Profiles, WhatsApp Business accounts, or other third-party apps linked to your Facebook Page. Understand how unpublishing might affect their functionality or public display.
- Pause Ad Campaigns: Ensure any active ad campaigns linked to your page are paused or stopped. You don’t want to be spending money on ads leading to an unpublished page.
- Admin Permissions: Double-check that you are indeed a Page Admin. Only admins have the authority to deactivate a Facebook page.
- Communication Channels: If your page is a primary customer service channel (e.g., via Messenger), consider alternative methods for communication while the page is unpublished.
- SEO Impact (Long-term Deactivation): While temporary, a very long deactivation period might negatively impact your page’s search engine optimization (SEO) as it won’t be indexed by search engines like Google during that time.
By taking these proactive steps, you can ensure that deactivating your Facebook page is a controlled and well-managed process.
Conclusion
Knowing how to deactivate a Facebook page is an essential skill for any administrator looking to manage their online presence effectively. It offers a crucial middle ground between maintaining a fully public presence and permanent deletion, allowing for temporary breaks, strategic pauses, or behind-the-scenes work. By following the clear, step-by-step instructions provided for both the New Pages Experience and the Classic Pages Experience, you can confidently unpublish your page and restore it whenever you’re ready. This flexibility ensures that you retain your page’s valuable content, audience, and insights, ready to resume your public presence when the time is right.